Size: 30cm x 31cm
Brand: Hemline
£9.80
Size: 30cm x 31cm
Brand: Hemline
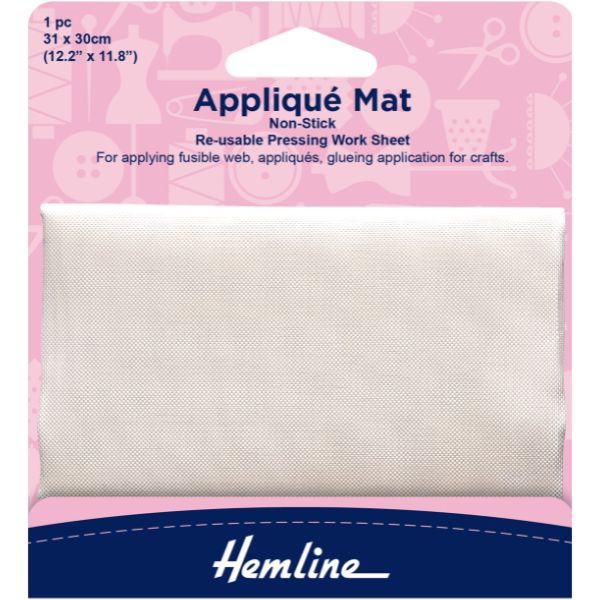
Appliqué Mat: 30cm x 31cm is a quality re-usable Teflon pressing sheet for bonding fusible web to most fabrics. Ideal for applique and craft. Place mat between iron and fusible web to avoid sticking.
Size: 30cm x 31cm
Brand: Hemline
A Teflon pressing mat (often called an appliqué mat or non-stick pressing sheet) is really useful for appliqué work because of these benefits:
Non-stick surface – Fusible web, such as Bondaweb and Heat ‘n Bond, won’t stick to it, so you don’t risk gumming up your iron or damaging your ironing board.
See-through – The pressing mat is mostly transparent, so you can place your design underneath and build your appliqué pieces right on top, ensuring accurate placement.
Heat resistance – The mat can withstand high heat from your iron, letting you fuse layers together safely.
Reusable surface – You can pre-assemble small appliqué units directly on the mat, then peel them off in one piece and transfer them to your project.
Protects your fabric – Prevents scorch marks, shiny spots, or adhesive residue on the right side of your fabric.
It’s basically a handy tool that keeps things neat, accurate, and stress-free when working with fusible appliqué.
1. Prepare Your Appliqué Pieces
Trace your appliqué shapes onto fusible web (e.g., Bondaweb, HeatnBond).
Cut them out roughly, fuse to the wrong side of your chosen fabrics, then cut out neatly on the drawn line.
2. Place the Design Underneath
Lay your paper pattern or layout guide under the Teflon mat.
Because the mat is see-through, you’ll be able to see exactly where each piece belongs.
3. Build Your Appliqué on the Mat
Position the fabric pieces (fusible side down) directly on top of the mat, lining them up with the design underneath.
Overlap slightly where needed—this helps create one solid unit.
4. Fuse the Pieces Together
Gently press with a hot iron (no steam).
The fusible web will stick the pieces together, but not to the mat.
5. Peel Off the Whole Appliqué
Once cool, carefully peel the entire appliqué design off the Teflon mat in one piece.
It should hold together as a single unit.
6. Transfer to Your Background Fabric
Place the assembled appliqué on your cushion panel, quilt block, or chosen background.
Press again with the iron to fuse it in place.
7. Stitch and Finish
Secure the edges with your chosen stitch: satin, zigzag, blanket, or even free-motion quilting.
Continue with quilting, binding, or finishing steps for your project.
✨ Extra Tip: If you’re working with layered shapes (like ears over an elephant’s head), the Teflon mat makes it easy to pre-assemble those tricky sections before adding them to the main project.
Follow us on Facebook.
For more pressing mats and pressing tools click here.